Microsoft InfoPath Designer Barcode Tutorial
This tutorial provides examples for creating barcodes in Microsoft InfoPath® 2013 with the IDAutomation Barcode ActiveX Control and DLL.
NOTE: The use of ActiveX is deprecated by Microsoft and will not work in most web browsers. IDAutomation recommends using another product to generate barcodes for web browsers such as ASPX Scripts, Streaming Barcode Server for IIS, Java Servlets, JavaScript Barcode Generators, or PHP Scripts.
When dealing with printed InfoPath forms, a linear barcode may be used to automate data entry and eliminate errors. The barcode used in this tutorial is provided by the Barcode ActiveX Control and DLL product. IDAutomation also offers other Barcode ActiveX Controls for support of 2D barcode types, such as Data Matrix and PDF417.
- Purchase or download the demo version of the Linear Barcode ActiveX Control and DLL.
- Open Microsoft Office InfoPath Designer.
- Open a pre-created Microsoft Access Database.
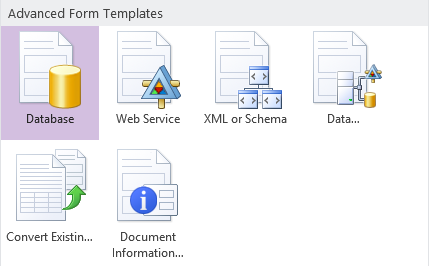
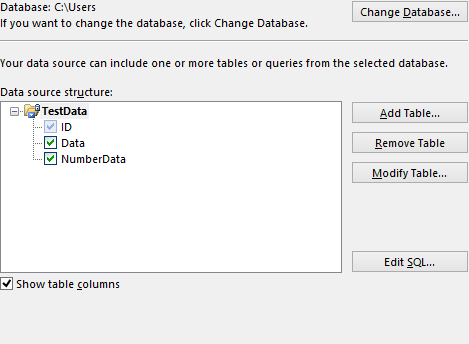
- Add in the tables desired with the Data Connections Wizard
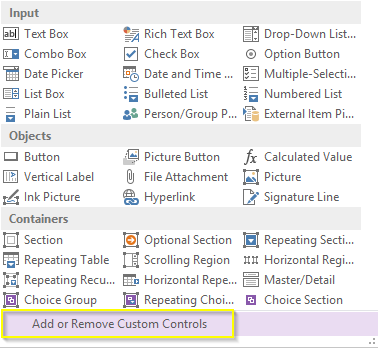
- Click the down arrow button in the Controls section of the Home Ribbon.

- In the custom section, choose Add or Remove Custom Controls.
- Click Add Control.
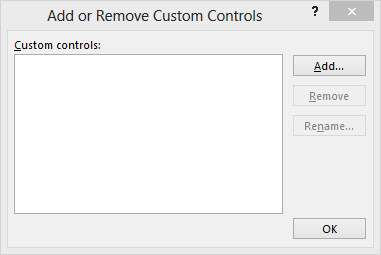
Then choose the ActiveX Control radio button on the following screen. - From the list of available controls, choose the Barcode ActiveX
Control installed earlier; in this case, it is named "IDAutomation
Linear BarCode".
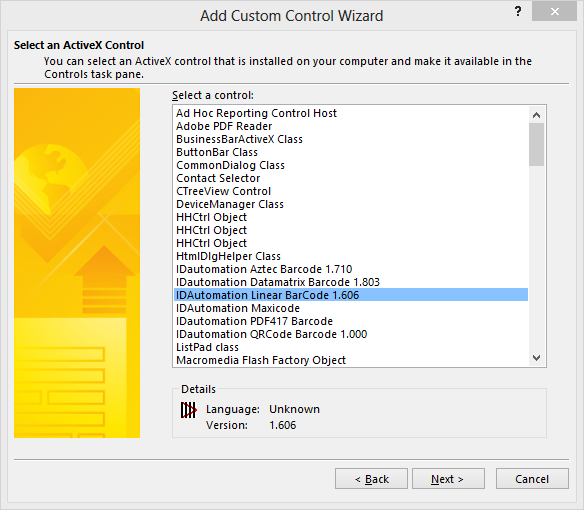
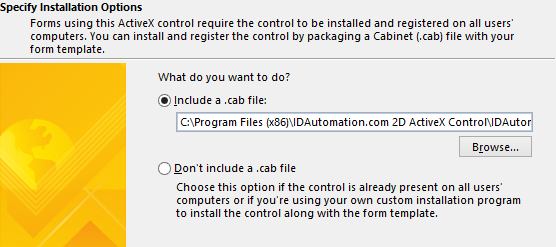
- When asked about installation options, choose to include a CAB
file. IDAutomation supplies signed CAB files with all
Barcode ActiveX Controls,
which reside in the appropriate "Program Files" folder after installation.
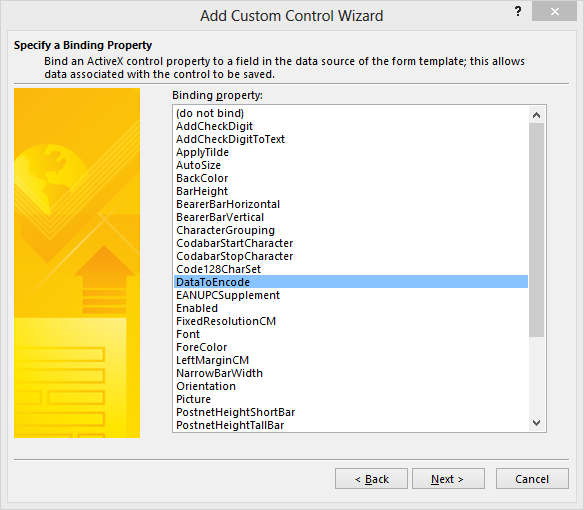
- When asked to specify a binding property, choose DataToEncode.
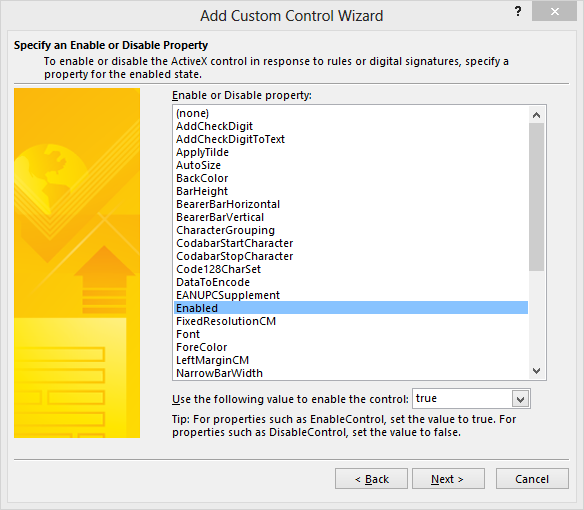
- The next screen allows the ability to enable or disable a property. If
unsure, keep all default options and select Next.
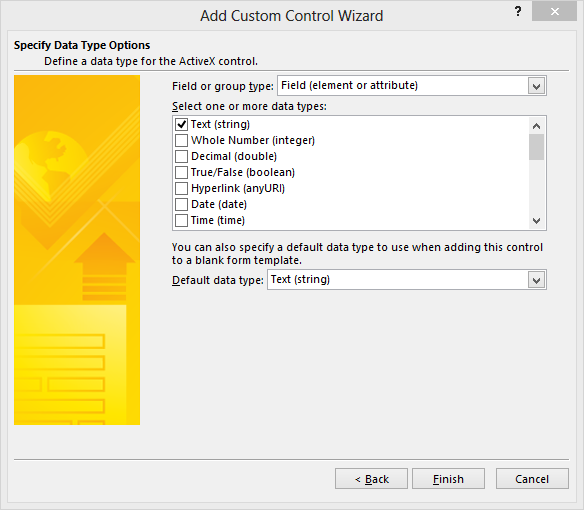
- Choose TEXT (String) for the data type and choose Finish
and OK.
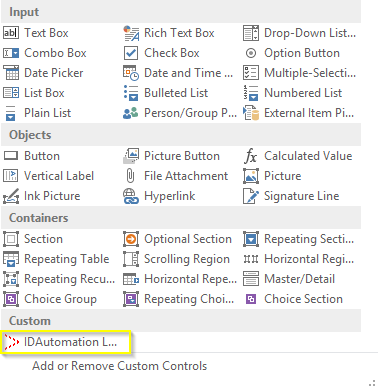
- The barcode control should now be available in the Custom Controls
area of the Control Task Pane.
Create a place on the form where the barcode will be inserted. Be sure to leave adequate space for the height of the barcode and to the right and left of the barcode, as its width may vary with the amount of data encoded. Position the cursor in the field where the control will be inserted. - Click on the custom barcode control that was just added to the
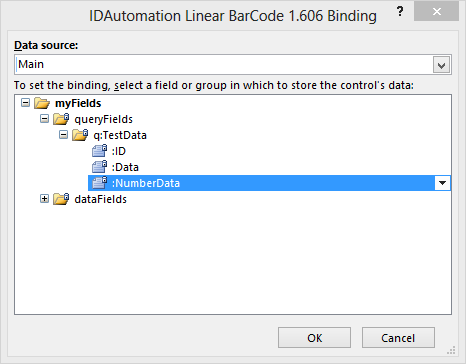
Control Pane. In the Data Source screen, choose to set the binding
to the queryFields that contain the data to barcode and choose OK. If the dataFields is chosen, a pop-up will appear informing that this will be a one-time barcode and not dynamic as data changes.
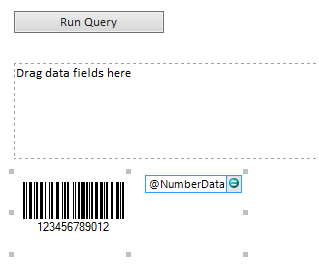
- After the binding, the barcode will appear on the form with
some default data applied.
- After saving and/or publishing the modified form, the barcode should appear. The barcode field will be automatically updated after that field is edited and the cursor is moved to another field.

